Brick Laying With A Twist
Words: Todd Fredrick
Words & Photos: Steven Fechino
Brick columns are typically slow to build when each course is plumbed and leveled as you go. When you set up jack lines, it is much easier to notice when you get a bit off here and there, but you still need to plumb and level. A twisted brick column is altogether different. In a way, it is a little tougher to layout, but once you get to laying the fun begins.
There is one way to layout a twisted brick column and a twisted brick pier, and there is a difference between a column and a pier. A column has to be square with the roof or soffit, but a pier can be twisted as much or as little as one would want, with top of pier forgiveness.
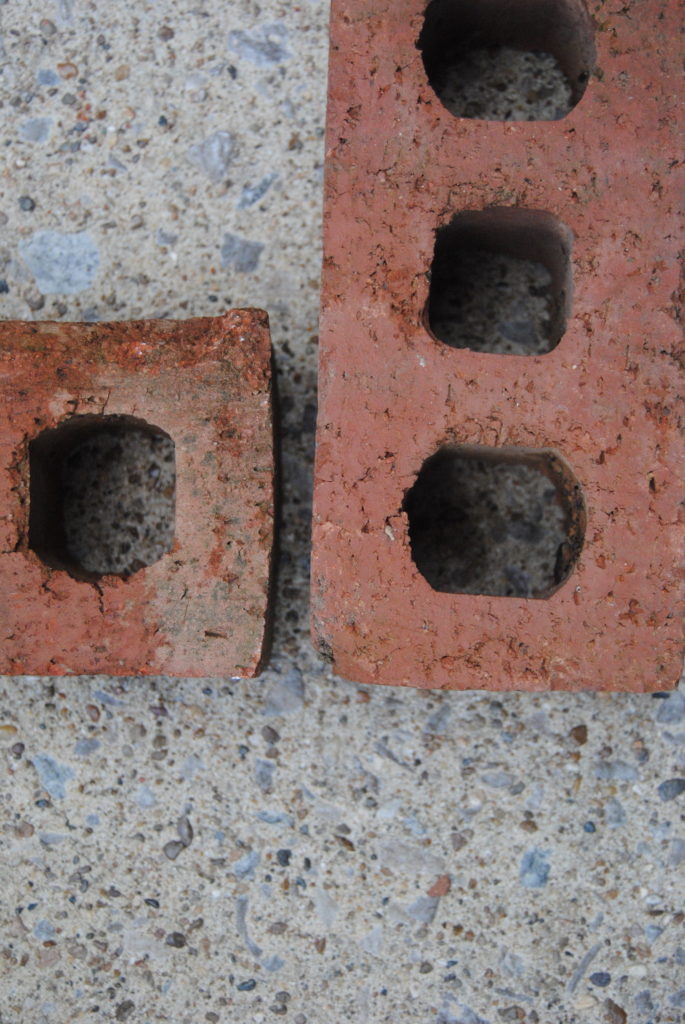 Know what you are working with, the brick I had were bent and rounded and all different sizes
Here is an example: you want to build a twisted brick pier at a nice pool house. The owner comes out just as you are about to finish the last two courses, and she asks that you do not go any higher in elevation. You explain that the top of the pier was calculated to square off in the next two courses (square with the first course), the owner can then say, it is okay, I like it as it is. Then you are all set.
If you are laying column, then the first course and the last course need to be square with each other and the structure in order to look proper. The way to make sure you can end up square is pretty simple; you can calculate how to square the column once you take a few measurements. First, you need to know how high the span is from the top of the footing or slab to the soffit. Generally, you could have a span anywhere from 8 to 12 feet tall.
Even numbers work out better than odd numbers: for example, 8-feet in height is 36 courses, 10-feet in height is 45 courses and 12-feet in height is 54 courses. If you have a distance that perhaps is 8 feet-8 inches, that would figure to be 39 courses, which you will see in a minute that just make things a bit more difficult to figure the degrees of each twist (but not impossible.)
 Measure the materials you are working with
Each twist of the column would equal either 90 degrees, 180 degrees, 270 degrees, or 360 degrees. For this example, we will use 2 twists, or 180 degrees to build this column; basically the full column will have two twists from bottom to top. We will also assume a height of 12 feet where we will need to lay 54 courses. The math is simple, 180 degrees / 54 courses = 3.33-degree twist per course.
Using a speed square or protractor, you can mark 3.33 degrees or 3-1/3-degrees from the center of the pier (3.33 degrees is about the width of a stick rule). If you use a speed square it is pretty simple: place the pivot of the speed square at the mid-span of the pier (if it is a brick and a half pier, then you will mark at almost 5-13/16-inch). You will turn the speed square on the pivot and use the scale along the hypotenuse (long side of the triangle) and mark at the 3 and an approximate 1/3 area on the scale- that is 3-1/3-degrees and this will turn the pier twice in 12 feet of height. So, it is really simple. Determine the height that you want to build to, the number of courses, and how many twists, and you can figure any twisted column that you could want to build.
 Make two templates the size of the perimeter of the column you are building
When building a larger twisted brick column where you are wrapping a structural column, you can plumb off the steel to the outside of the current course that is being installed. This is not going to replace stepping back and looking your work over as a bricklayer can see out of plumb a mile away.
It is important to know the limits of what you are laying before you begin. The brick I grabbed for the photos used in this article ranged in size from 1/8 to 3/16 inches, so be sure to go into your project aware that you will have some “forgiveness” in your pier. Different manufacturers core their brick differently and some brick can be matched with solids, so before you start, know the limits your materials will have so that cores or in rare cases frogs will not show in your finished work.
 Using a speed square mark the calculated degree of rotation
To actually begin with the layout for the pier once you have figured the amount of twist, you will then need to make a template of the pier so you can properly twist the courses and have uniform corners. I made my template out of corrugated plastic because it was easy, lightweight, and waterproof. Most folks make theirs out of plywood which may be better if you build a lot of columns.
I cut out two pieces of template and found the center by marking the diagonal. Then, I used a pushpin to connect the two together so that I could create a rotation and a binder clamp, meaning once I had it where I wanted it, it would not move. The steps are easy: using a speed square I marked 3.33 degrees, turned the template, and clamped it, and that is my twist.
 Rotate the template and clamp, and place in the jig you will use during the building of the column, set the angle of the jig and screw the two together
I have a common jig that I made (but did not invent) for laying twisted columns. Over the years I learned a few tricks on how to not get half-way through a project. On the only sunny day that I had to work in weeks, I broke my jig and had to make a replacement. The jig consisted of two separate right angles of wood that you place the template in and set your angle. Here is how I made mine.
First, I used oak, because when a pine jig gets wet and sits in a hot truck it will tend to become twisted. Second, I decided to use pocket joints instead of just screwing the corners together, because it tends to stay stronger longer when you drop it, Um…yes, I drop mine quite a bit. Third, since I drop it, I pocket drill both sides so I can put it together from the other end when I need to.
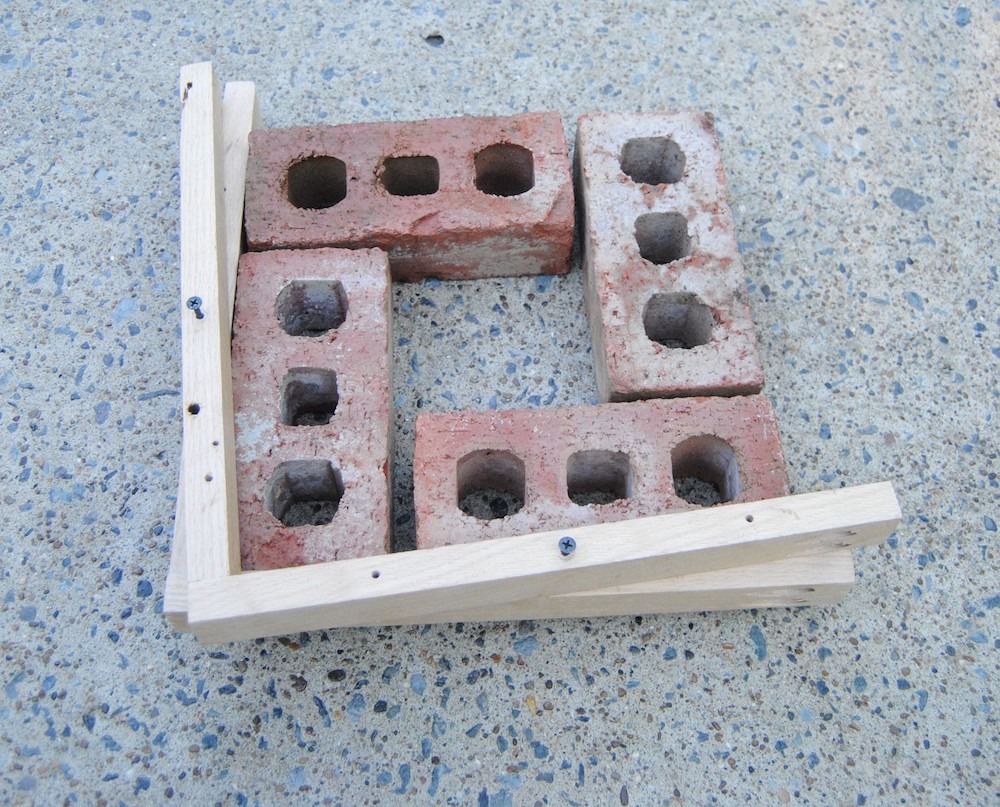 Set the jig on the column and install the next course
Fourth, you will need to drill holes in the sides of the jig to attach both angle pieces together (this is what creates the twist). When putting the two pieces together use soap on the screws that you put into your pre-drilled holes and go slow, you do not want to split the wood.
Fifth, I have two ways that I use to square up my work, I can either mark the long end of the jig or attach a short piece to the long leg- they both work, it becomes your preference. Last but not least, I keep the pocket joints on the outside so they can stay cleaner longer if and when I need to unscrew them to put in my bag.
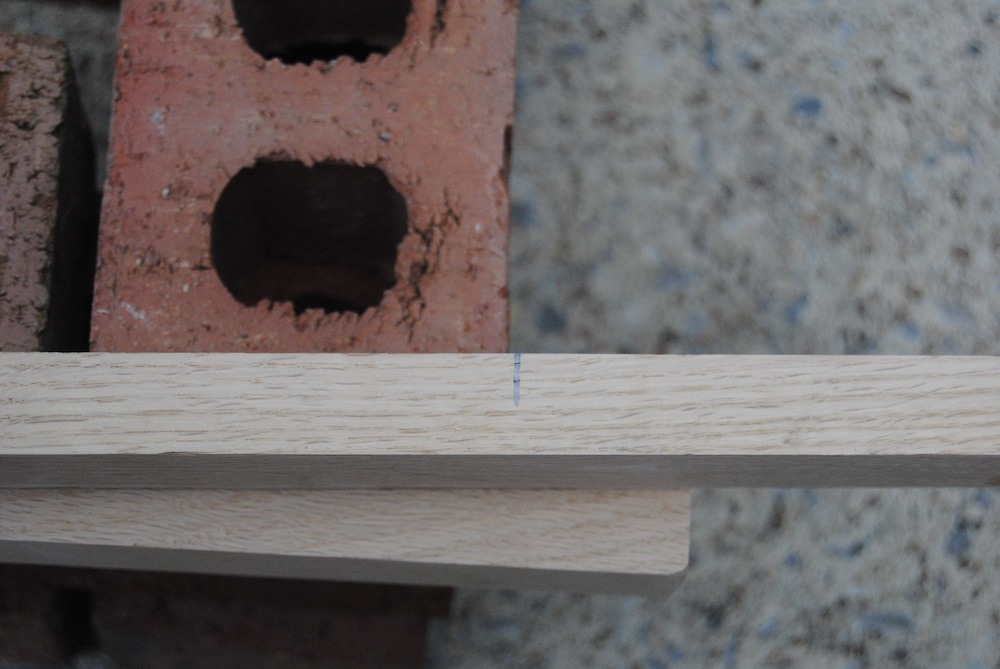 You can mark the end of the jig to help you line up the outside brick
We have been talking about building columns, but many of the principals we have discussed can apply to chimneys. I would like to take a moment and share with you some of the most outstanding craftsmanship anyone in our industry has ever seen. The chimneys were constructed 21 years ago by a young man who, as a master mason, was getting ready to change directions in his career and move from the field to the teacher, mentor, code presenter, and consultant role, working for a division of the Brick Industry Association.
This mason, who has mentored me as well as hundreds of others, is respected in the collegiate, architectural, engineering, and contractor circles like no other. He was a subject matter expert for the National Center for Construction Education and Research, which means, he edited all three of the textbooks that the trades are using today.
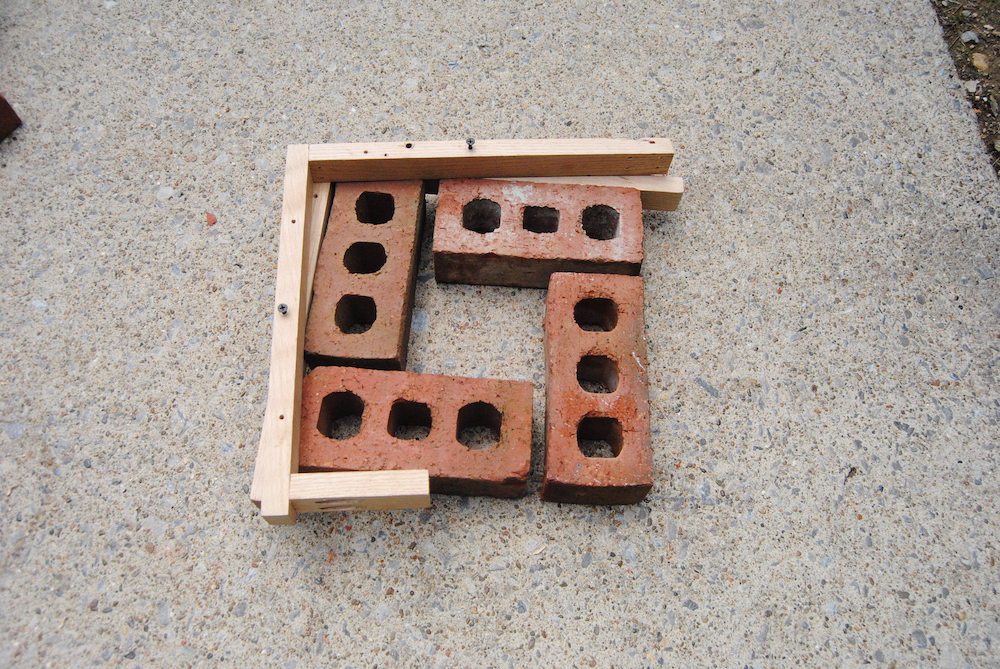 You can also place a small block on the end of the jig to help you line up the outside brick
His name is Brian Light, one of the finest gentlemen our industry has seen, but he does tell one fib: he says that he did not cut brick with his trowel. Instead, he always said, “ that is what a saw is for.” Okay, I guess I might buy that. Brian is ready to retire to spend time with his lovely wife and family and has made a difference to this industry and many of the industry professionals. Jerry Painter said today that “Brian is one of the finest men he has ever met.” I will agree with that….but still wondering about the whole cutting a brick thing.
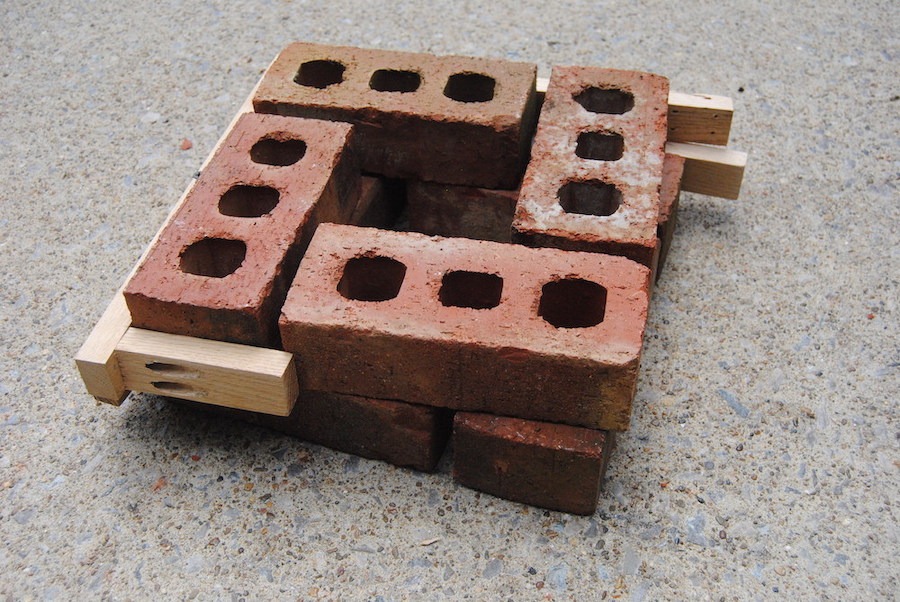 View at an angle that shows the beginning of the twisted brick column
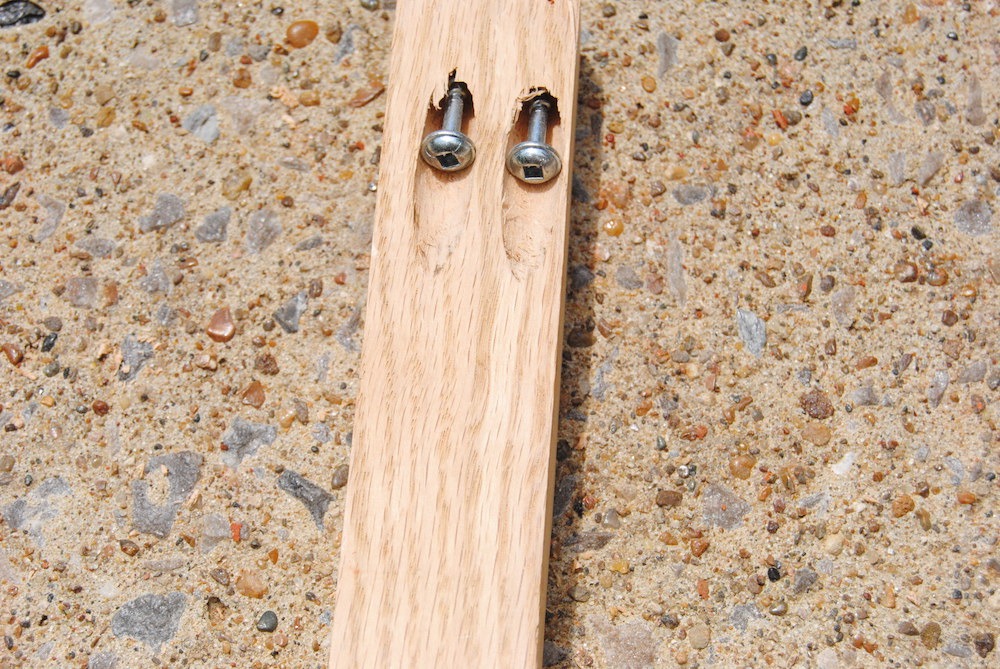 pocket joint example